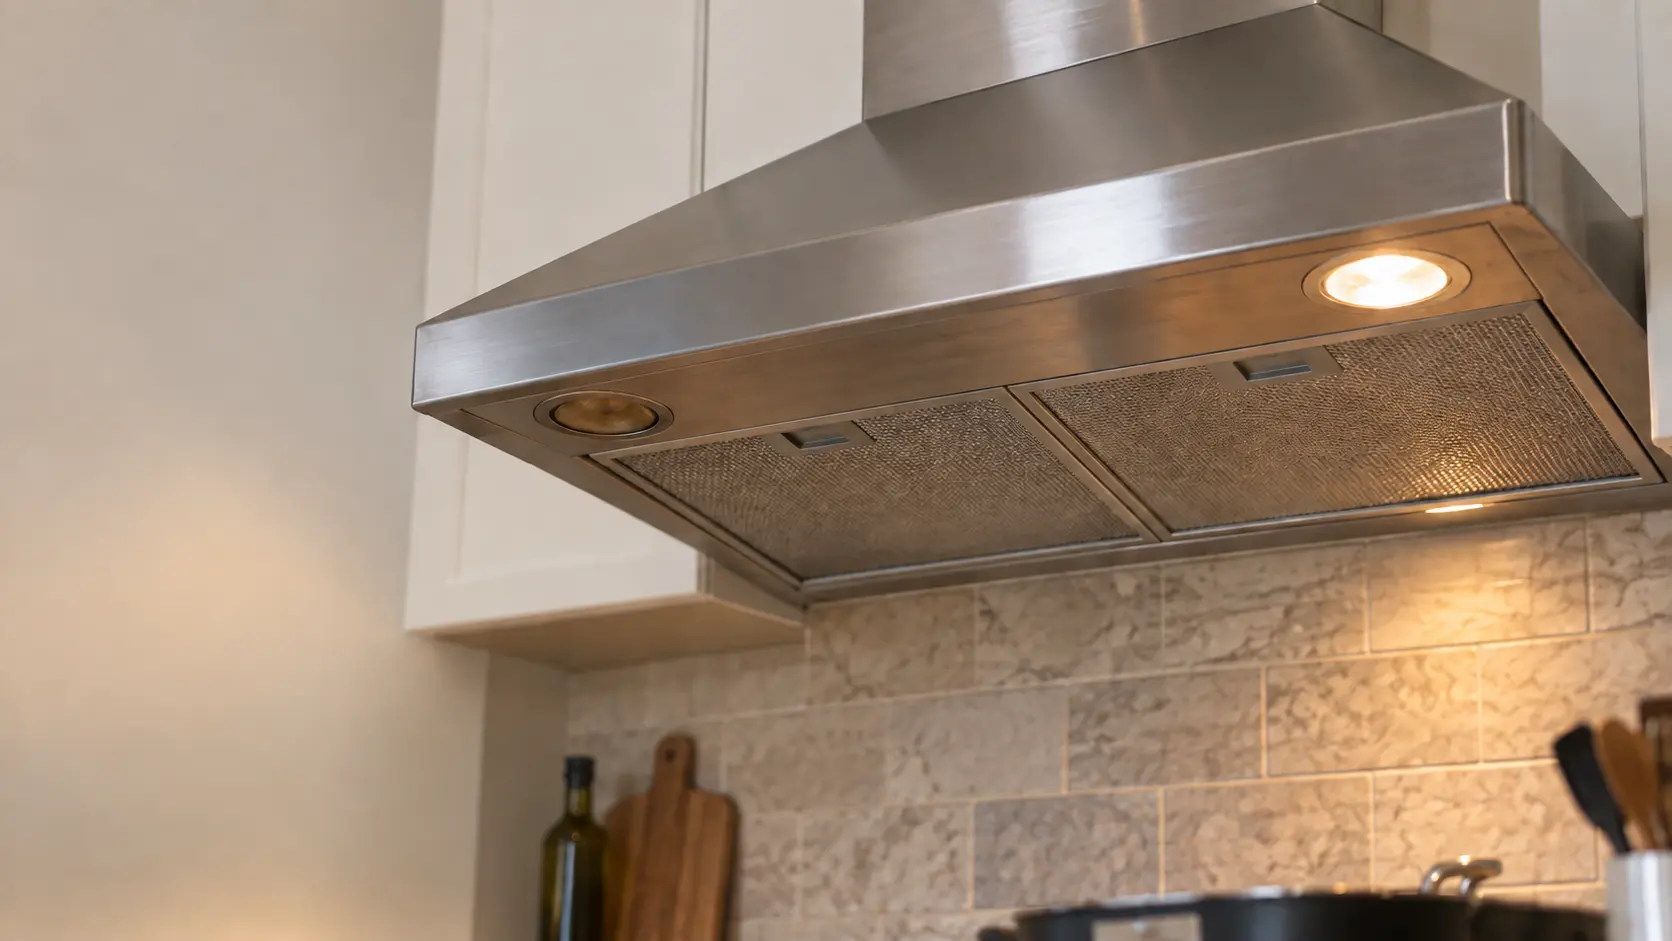
How firmly the hood hangs
Begin with the mounting, since everything else can wait while this cannot. Stand to one side, never directly under the canopy, and look along its edges at the wall, the cabinet or the ceiling. The gap should be even all around, the canopy level from side to side, and the flue cover straight and tight to the ceiling.
Then press lightly upward on one front corner with a flat hand. A properly fixed hood feels solid. Any movement, a creak, a fresh crack in the tile or plaster at a mounting screw, or a flue cover that has slid down is the end of the check: stop cooking under it and have it looked at.
Island hoods and custom hoods
On an island canopy, look at where the flue cover meets the ceiling for new hairline cracks or a gap that was not there last year. On a wood or plaster hood with an insert, look at the joint between the liner and the woodwork from below; a liner that has dropped even slightly away from its opening needs attention.
Every fan speed, and the sound it makes
Run the fan on each speed for a minute and listen. Each step should be clearly stronger than the last and the sound should be a steady rush of air. A hum that rises and falls, a rattle that comes and goes, a grinding at startup or a speed that sounds the same as the one below it are all worth a line in the notebook.
Vent-A-Hood's owner guide describes a heat sensor on some of its models that raises a two-speed blower from low to full power when the heat inside the hood gets too high, and returns it to low when the heat subsides. Many other hoods have a comparable feature. If yours does, a fan that speeds up on its own over a hot pan is doing its job.
A steam test for capture
Bring a wide pot of water to a rolling boil on a back burner, then on a front burner, with the hood on its middle speed. Watch the steam. It should bend up into the canopy and vanish; if it spills past the front edge or drifts to one side, note which burner and which speed. Compare with last year's note, because slow change is the thing this test is best at catching.
Source: Vent-A-Hood — Owner and Maintenance Guide for models with the Magic Lung blower — A heat sensor switches the two-speed blower from low to full power when heat inside the hood reaches an unacceptable level and returns it to low as the heat subsides; grease should not be allowed to accumulate on the fan or in the blower housing

Lights, keys and indicators
Switch every light setting on and off. Two bulbs of different color or brightness usually mean one was replaced with the wrong part; a flicker on an LED hood can come from the bulb or from its driver. Press each key or turn each knob and confirm it answers the first time. Keys that need a hard press or a second try are wearing, often from years of greasy fingers.
Look at any filter or service indicator. A reminder that stays on after it has been reset properly, or an indicator the manual does not explain, is worth a note and a look at the error-code pages on this site.
- All light settings work and match each other.
- Every fan key or knob position responds at once.
- The timer or delay-off, if fitted, ends the fan on schedule.
- No indicator is lit that the manual cannot explain.
Filters and the space above them
Take the metal grease filters down and look up into the opening with the flashlight. A light film on the housing is normal. Drips, amber puddles or a coating on the blower wheel you can see through the inlet mean grease is getting past the filters, and that is where it becomes a fire risk. Vent-A-Hood's safety instructions say grease should not be allowed to accumulate on the fan or in the blower housing.
Wash the filters while they are down, and if the hood recirculates, check the date on the charcoal filter. The filter guides on this site cover both jobs.
Source: Vent-A-Hood — Owner and Maintenance Guide for models with the Magic Lung blower — A heat sensor switches the two-speed blower from low to full power when heat inside the hood reaches an unacceptable level and returns it to low as the heat subsides; grease should not be allowed to accumulate on the fan or in the blower housing
The duct and the cap outside
A ducted hood ends at a cap on the roof or an outside wall. From the ground, with binoculars if it is high, look at the cap while someone runs the fan on high: the flap should open, and it should fall shut when the fan stops. A flap stuck open lets cold air and insects in; one stuck shut makes the hood loud and weak.
Look for a nest, a lint-like mat of grease and dust, or dark streaks running down the siding under the cap. Streaks mean grease is traveling the whole length of the duct, which a technician should see. Do not climb onto the roof to reach it.
The damper at the hood end
Many ducted hoods also carry a small damper where the duct leaves the housing. On a cold, windy day, stand near the hood with the fan off and feel for a draft falling from the filter opening, or listen for a light tapping as gusts move the flap. Either one points to a damper that no longer seats, which is a quick fix for a technician but not one to reach from a ladder inside the flue cover.
What to write down each year
A short record turns a vague complaint into a diagnosis. We ask for these on almost every call, and owners who have them usually get a shorter visit.
- Model and serial number from the label behind the filters.
- The date the grease filters were last washed and the charcoal last changed.
- Which fan speed and burner failed the steam test, if any.
- Any sound that is new since last year, and when it happens.
- Anything seen at the mounting, the outside cap or the siding below it.