
Three questions to answer before any estimate
First: is the problem in the hood at all? Weak suction is often a clogged filter, a stuck damper or a crushed duct, none of which a new hood would cure. A new unit bolted to the same bad duct performs exactly like the old one.
Second: is the body sound? Look at the seams around the filter opening and the inside of the canopy with a flashlight. Surface grease wipes off; brown rust, split seams, a dented canopy or heat discoloration from an old flare-up do not.
Third: can the part still be bought? Many hoods stay in production for years with the same blower and switch, but electronic boards are the part most likely to be discontinued. The model label, usually behind the filters, answers this in a few minutes.
Problems that follow the duct, not the hood
- A flapping or banging sound when the fan is off on a windy day.
- Cold air falling from the hood in winter.
- Brown grease streaks on the siding below the outside cap, or drips where the duct meets the hood.
- Strong fan noise with little pull at the filters, even after washing them.
Parts that are usually worth repairing
A range hood has fewer parts than almost any appliance in the kitchen, and most of them are simple electrical components. That keeps many repairs in the least expensive band of work we do.
Parts an owner can change
Bulbs and grease filters are designed to be replaced from below. Broan's BXT1 instructions, for example, specify a 120-volt LED bulb with a GU10 base and a 7-watt maximum, fitted with the power off. A charcoal filter on a recirculating hood is also a routine purchase, not a repair.
Parts that need a technician
- Fan-speed switches and keypads, which wear from years of greasy fingers.
- The run capacitor that helps many blower motors start.
- LED drivers and transformers behind the light panel.
- The blower motor and wheel, including bearings that have begun to growl.
- The heat sensor that brings the fan up to speed on its own.
- A damper flap that sticks open or shut.
Why the exact part matters
Broan-NuTone asks for its own genuine replacement parts, saying third-party parts can seriously damage the unit and reduce its performance. Vent-A-Hood's owner guide goes further on its multi-blower hoods: white blower wheels must be matched with white motor rings and black with black, or the hood will not perform properly.

When replacing makes more sense
Replacement becomes the better answer when the shell itself is the problem, or when the repair would cost a large share of a comparable new hood that fits the same space and duct.
- Rust through the canopy or around the filter opening.
- A body warped or scorched by a fire under it, even if the fan still turns.
- A control board that is discontinued with no approved substitute.
- A basic under-cabinet hood whose motor has failed, where the new unit matches the old duct.
- A hood too small or too weak for how the household now cooks.
How the hood's shape tips the decision
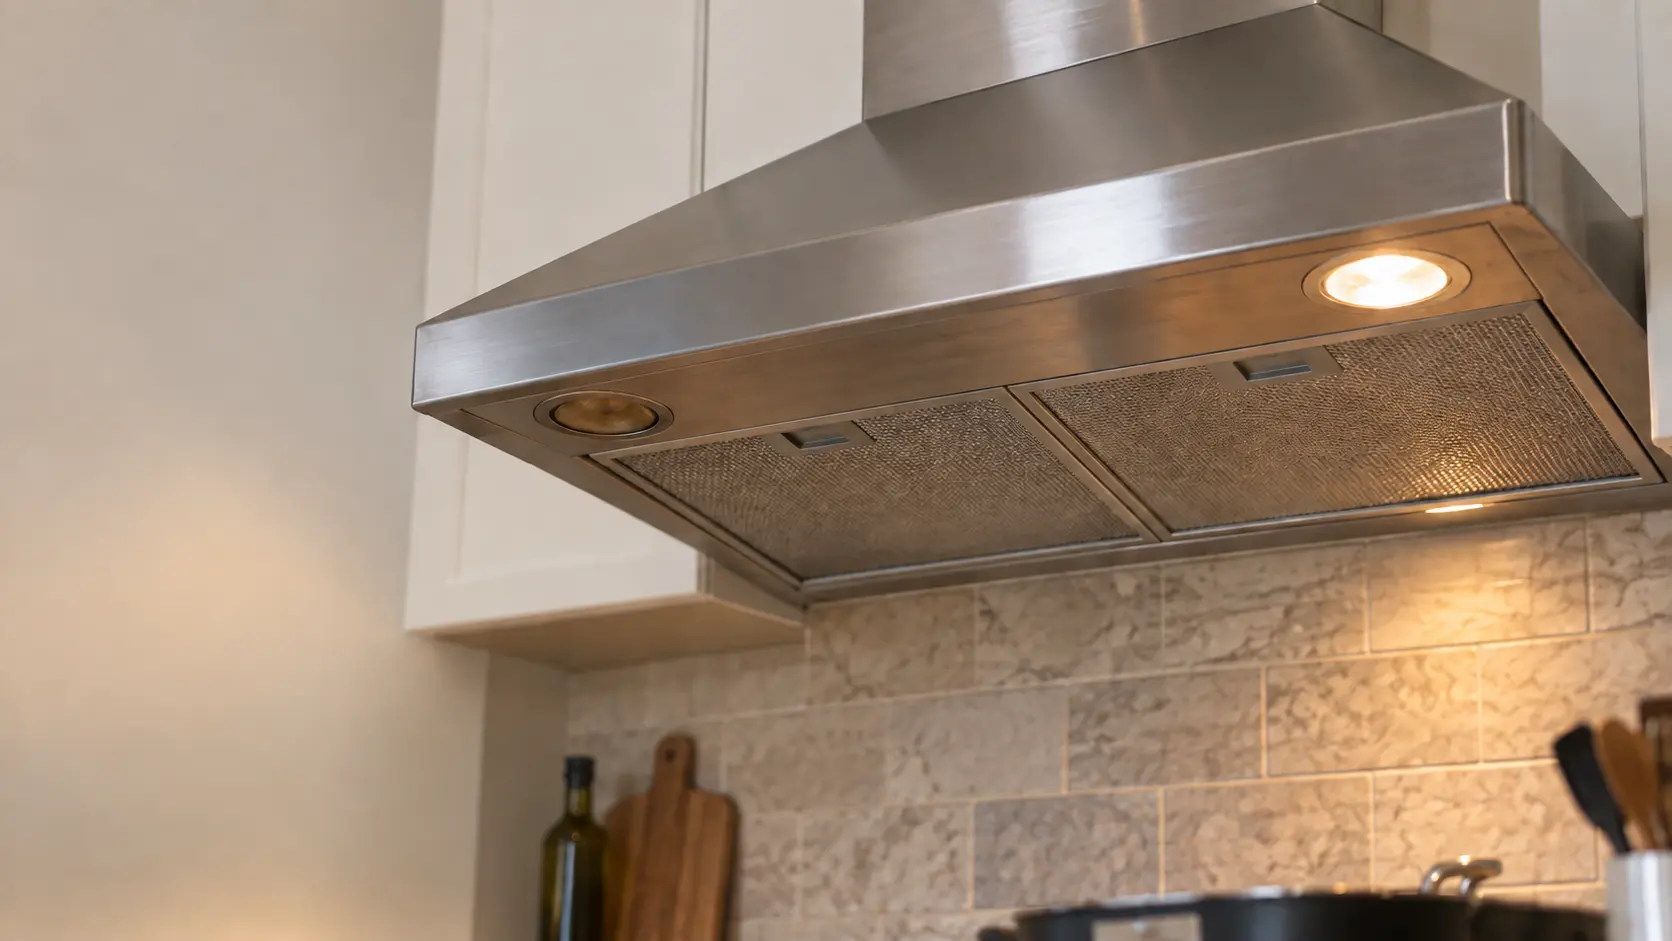
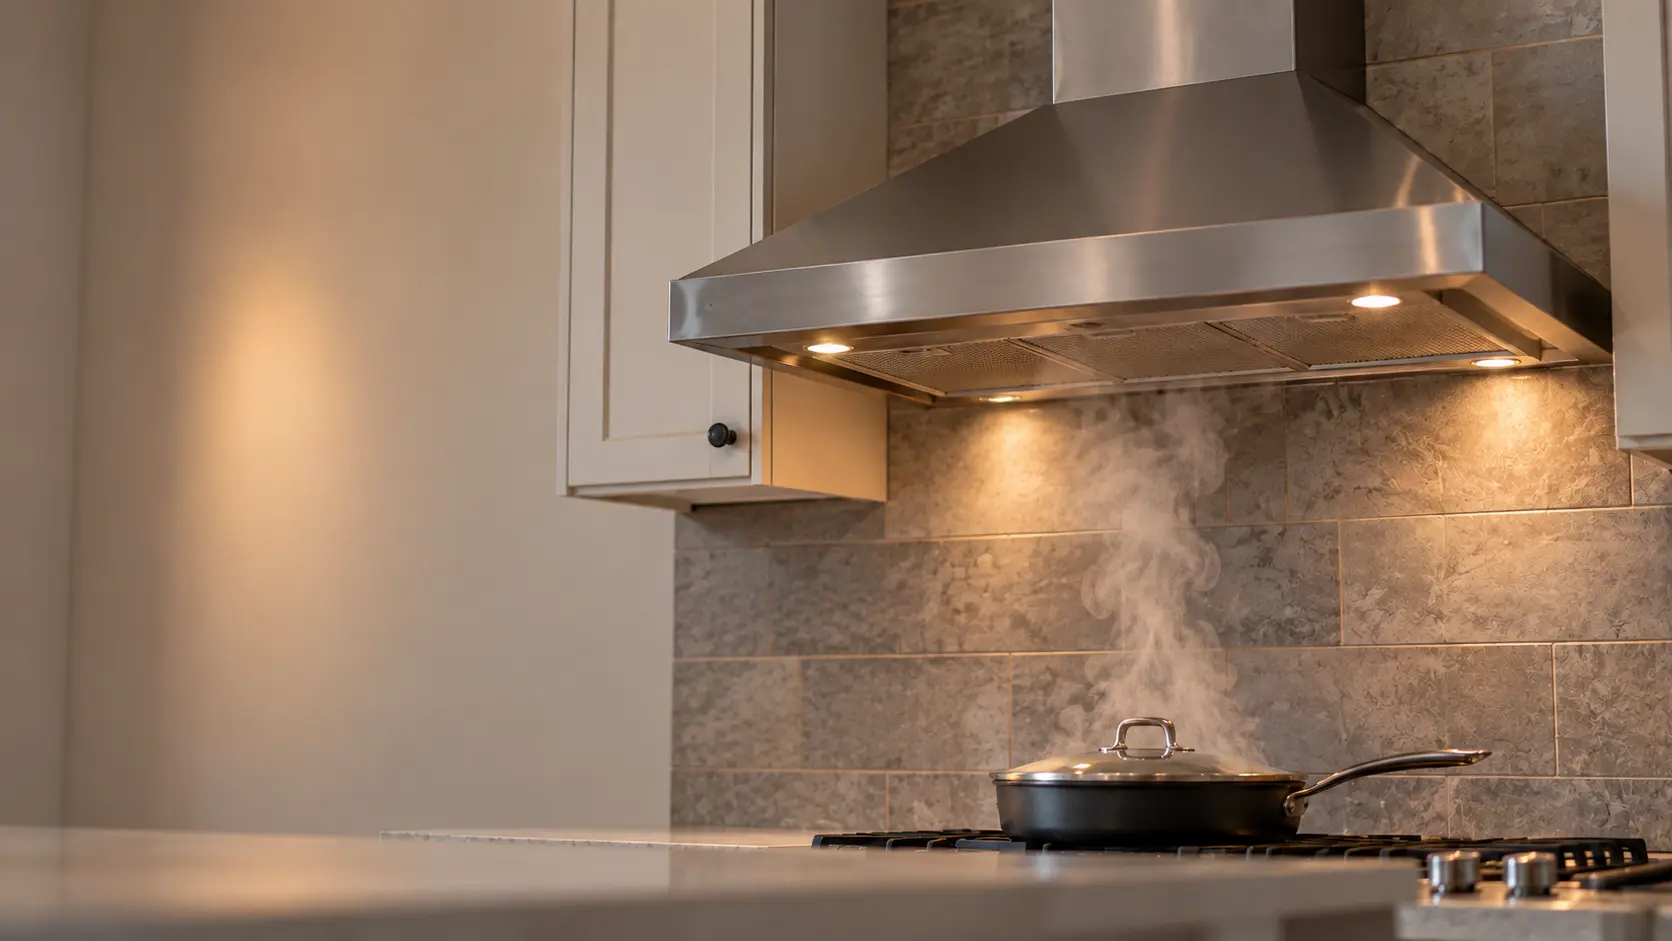
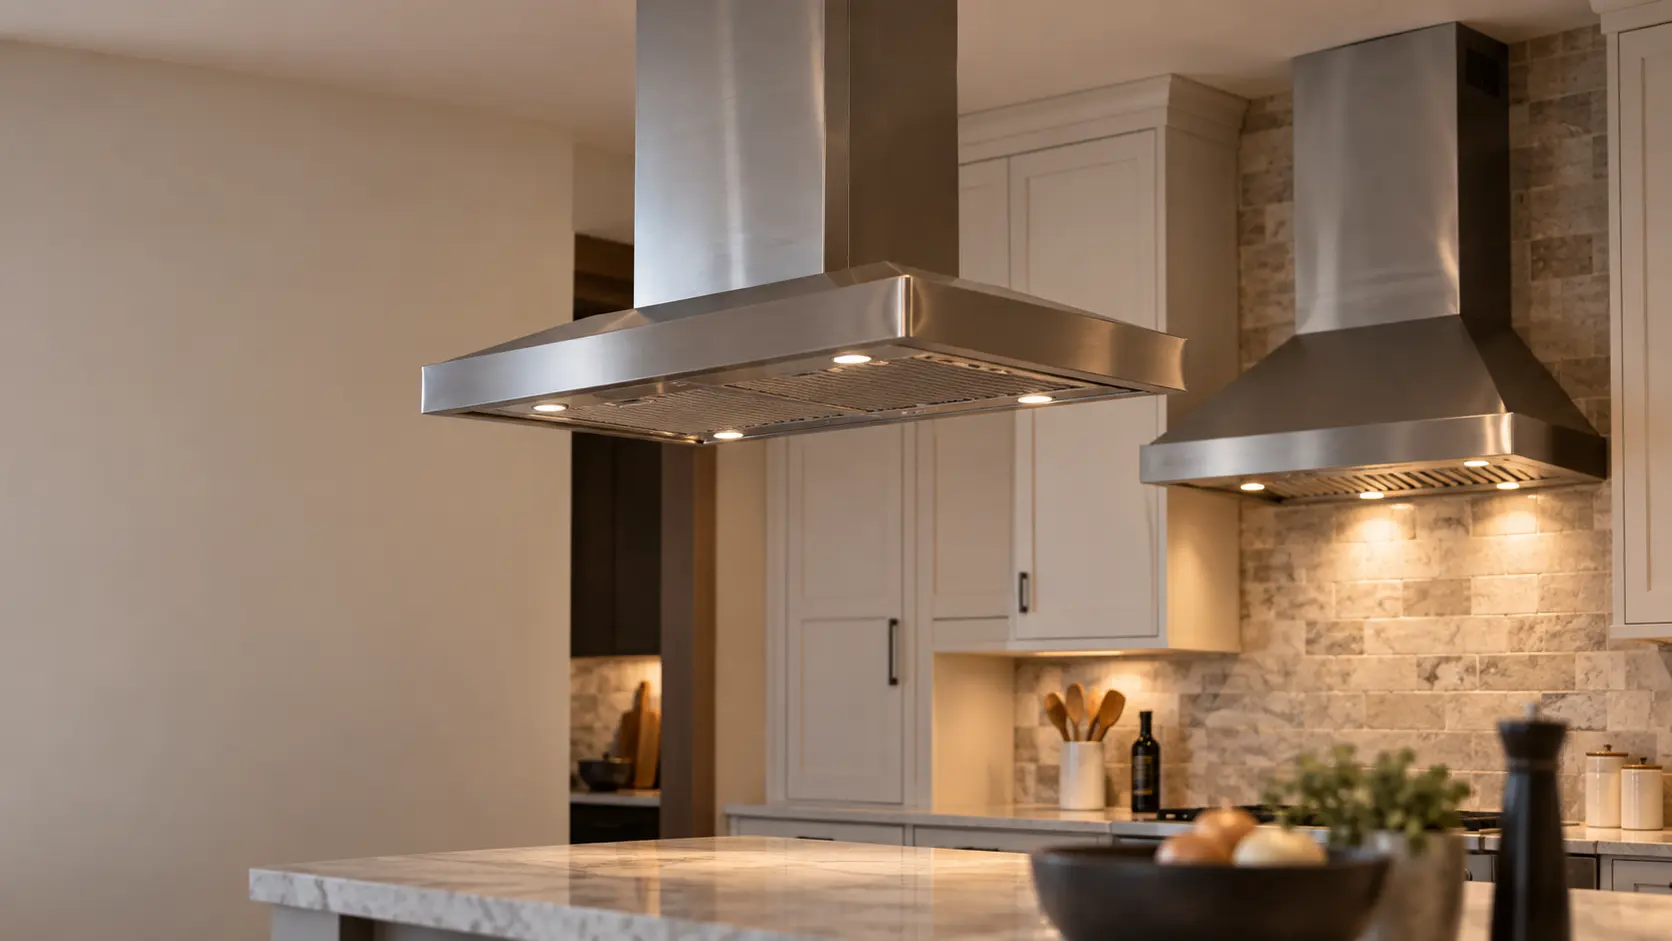
An under-cabinet hood is the easiest to swap: a few screws, a duct connection and a wiring box. A wall-mount chimney hood is harder, because the new flue cover has to fit the old ceiling height and the new canopy has to cover the old screw holes and tile cuts.
An island hood hangs from framing prepared for that exact unit, so a new one with different mounting points can mean opening the ceiling. An insert or liner inside a custom wood or plaster hood leans hardest toward repair: the cabinetmaker built the opening to that liner's dimensions, and a replacement liner that is even slightly different means rework of the woodwork.
Matching the duct and the wiring
A replacement must also match the existing duct. Broan's BXT1, for example, takes a 3-1/4 by 10-inch rectangular duct or 7-inch round, and a new hood with a different outlet needs a transition fitting. Check the outlet size and position in the new hood's installation manual before buying, along with where its wiring box sits.
What to have ready before a technician arrives
A repair decision is faster and fairer when the facts are gathered in advance. Ten minutes with a flashlight and a phone camera usually covers it, and none of it involves opening anything that is screwed shut.
Photographs of the model label, the underside of the canopy and the outside cap let us bring the likely parts on the first trip rather than the second. A note of when the problem started, and whether it came on suddenly or crept in over weeks, narrows the diagnosis further.
- The model and serial numbers from the label behind the filters.
- A photo of the canopy seams and filter opening, lit from below.
- What happens at each fan speed and each light setting.
- Whether the breaker has tripped, and how often.
- The rough age of the hood and whether it was installed with the kitchen or added later.